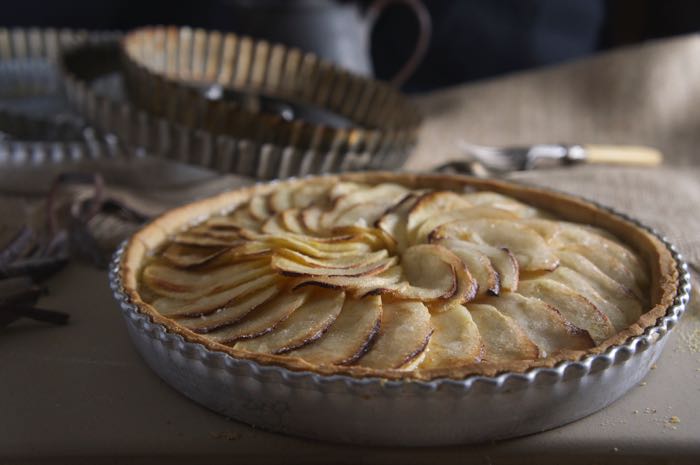
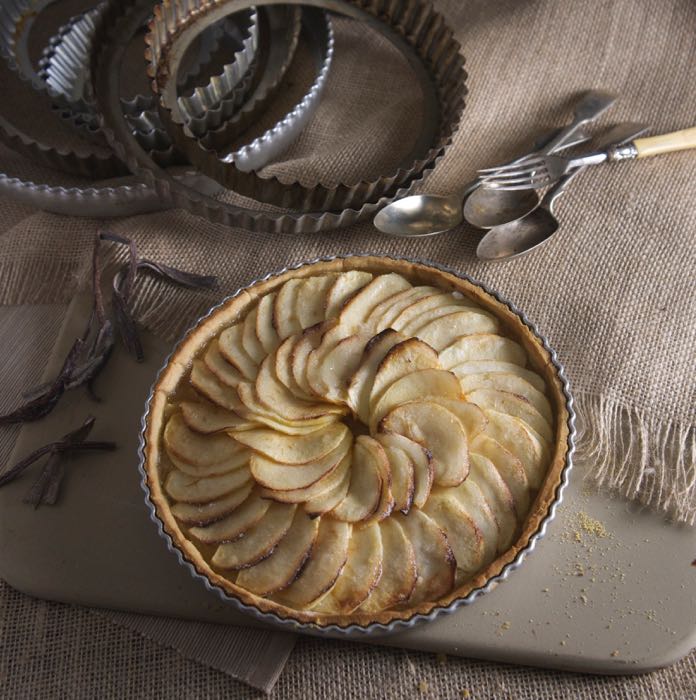
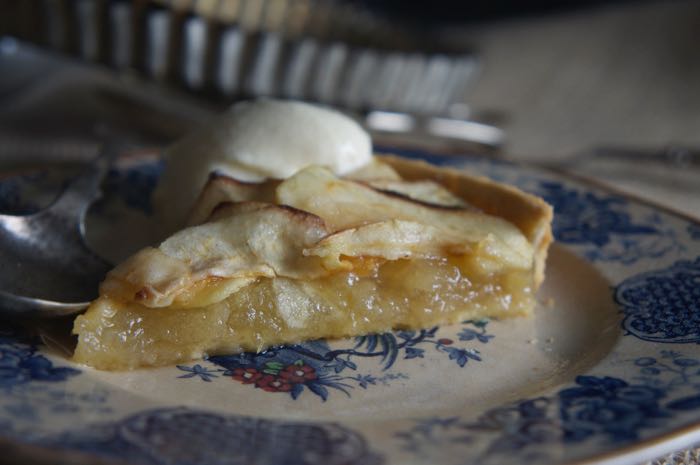
I offer up no apologies for the fact that this recipe has been lifted straight out of The Art of the Tart by Tamasin Day-Lewis. Where I usually add a bit of this or take out a little bit of that, no tweaking, fiddling or generally messing about trying to improve this wonderful tart is necessary as it is perfect as it is. The pastry recommendation of pâte sucrée is also spot on, the tart slips out of its tin without any trouble and the pastry does not overwhelm the beautiful simplicity of the finished tart.
I can understand why some people shy away from making their own pastry, it can seem a bit daunting and somewhat of an onerous task especially if using a very wet filling which will require the pastry case to be baked blind. If you have been put off over the years with broken cases, burnt crusts, pastry as tough as old boots or soggy bottoms, I urge you to try this tart and you just might just fall in love with pastry making again.
Pastry can be a bit of a minefield: flaky, shortcrust, puff, rough puff, choux, filo, suet, hot water crust and no doubt a few more that have escaped me this morning. There are non-laminated pastries, where the fat is rubbed into the flour and laminated pastries, where there fat is folded in, as in puff or filo pastry.
The fat used can be solely butter which gives a more luxurious and rich flavour, the addition of lard will make the pastry ‘shorter’, more melt in the mouth, which is a quality that I personally favour.
Purists may wring their hands but since the days of baking for a living when I used far too much pastry to make by hand, I started to use my food processor and have never reverted to the traditional method of rubbing the fat into the flour using the fingertips. However, although this is a much quicker method, over processing in the machine will over-stretch the gluten in the flour making for tough pastry, so be careful. Watch the processor like a hawk and as soon as the pastry starts to clump together, stop the machine.
For standard shortcrust, used for mainly savoury pies and tarts, the binding agent is just water but for this rich shortcrust dough or pâte sucrée, eggs and sugar are added to make a sweeter, more crumbly pastry.
 When making shortcrust or rich shortcrust, the two types I make the most of, there are a few rules that will help produce a light, crisp pastry every time.
Handle the dough as little as possible to prevent the gluten from strengthening too much. Minimal handling and the use of cold fat and water will also prevent the butter from becoming oily which will result in hard pastry.
Water should be added sparingly, always use less than you may think is required. Too much water will make sticky pastry which is difficult to roll out. Trying to redeem it by adding more flour will ruin the fat to flour ratio and again the pastry will be hard. So start off little and then add a few drops at a time. Too little water and the pastry will be dry and impossible to roll out.
Always form the dough into a ball and chill in the fridge for at least fifteen minutes before rolling out. Wrap it in cling film to prevent it drying and taking on any smells from other food in the fridge. This gives the gluten time to relax, the fats to regroup and the water to disperse through the dough resulting in an easy to handle, shrink free pastry that will behave itself and keep a good shape in the oven.
When it comes to rolling, the less handling the better so as not to get the gluten all worked up again. Roll out the pastry on a cold surface, a marble worktop or slab kept just for the purpose is ideal. Dust the surface lightly with flour and roll away from you, taking care not to ‘stretch’ the pastry. Turning the dough in between rolls ensures it is not sticking to the surface and also helps to keep a good shape, the aim is to try and keep it to a circle (assuming you are making a round tart) so it fits the tin without too much wastage.
Once the correct size has been reached, fold half over the rolling pin and lift it up, position it over the tin and gently lay it down. Press it into the tin using your fingertips or if it is a sticky or very buttery dough, roll a small piece of spare pastry in a piece of clingfilm and use this to press the pastry. It will stop the heat from your fingers melting the fat in the pastry. Make sure the pastry is pressed into all the flutes around the edge of the tin then cut off the excess with a sharp knife. I always put these little off-cuts on the baking tin and cook them for the birds.
Another good tip which will help stave off that dreaded soggy bottom is to put the tart tin onto a baking tray which gives a more intense heat to the bottom of the tin. This will also make it far easier to get the tart in and out of the oven. There is nothing so annoying than cooking a perfect tart then spoiling it with a big oven glove thumb print or squashing the tin slightly which cracks the pastry, both of which I have done in the past.
Use a tart tin with a removable base if you want to take the tart from its case to show it off. When I had my cake stall I used to dread having to remove tarts from their tins and transfer them to a cardboard cake board in case they broke, it is always a bit scary but if the pastry has been cooked properly, with a little encouragement the tart should slide off the base quite easily.
However tempting to use up all the filling , never overfill a tart, if the filling bubbles over the top it will stick to the tin, making it almost impossible to remove without breaking the pastry. Tears will follow. Or lots of swear words. Or both in my case.
When the tart is cooked leave in the tin to cool before trying to take it out of the tin, when the pastry starts to leave the side of the tin it should be easy to slide out. Stand the tin on something like a jam jar and gently pull down the sides. As long as you are not taking the tart anywhere or you are practising for Masterchef or the GBBO, you can leave it on the tin base. If your family is anything like mine they wouldn’t notice if I served it on a gold platter or a plastic picnic plate.
A final note on vanilla sugar which is incredibly expensive to buy. It can be very easily made at home by putting some vanilla pods in a jar of caster sugar, a Kilner type jar is ideal. I use pods that have been left over from using the seeds. The vanilla will last for ages, just top up the sugar every time you use it and you will never have to buy it again. Don’t be tempted to use ordinary caster sugar for this tart, the hint of vanilla lifts it into another realm from a plain apple pie.
- Pastry
- 180g Flour
- 90g Unsalted butter
- 2 Dessertspoons icing sugar
- 2 egg yolks
- …………………
- Filling
- 900g Cooking apples (about 3 large apples)
- 200g vanilla sugar
- 1 vanilla pod, split and seeds scraped out
- Peel and chop half the apples, place in a saucepan with the vanilla pod and seeds and 120g of the vanilla sugar.
- Cook on a low heat until soft and almost pureed.
- Leave to cool while you make the pastry.
- Put the icing sugar, flour and butter in a food processor and blitz together.
- Add the eggs yolks and whizz until pastry is just forming a ball.
- Wrap and chill for about an hour.
- Preheat the oven to 200c
- When the apple puree is cold roll out the pastry and put in the tin.
- Put the puree in the bottom
- Peel and thinly slice the remaining apple and arrange as you wish on the puree.
- Bake for 15 minutes.
- Sprinkle over the remaining sugar and cook for a further 20 minutes.
- It looks nice if some of the apple is just catching on the edge.
- Serve warm or cold.

